Pixel Bead guide
Exposure, Contrast and Saturation for Pixel Bead Patterns
Fine-tune the source photo before it becomes beads — what each slider does, how they interact, and what to watch in the preview.
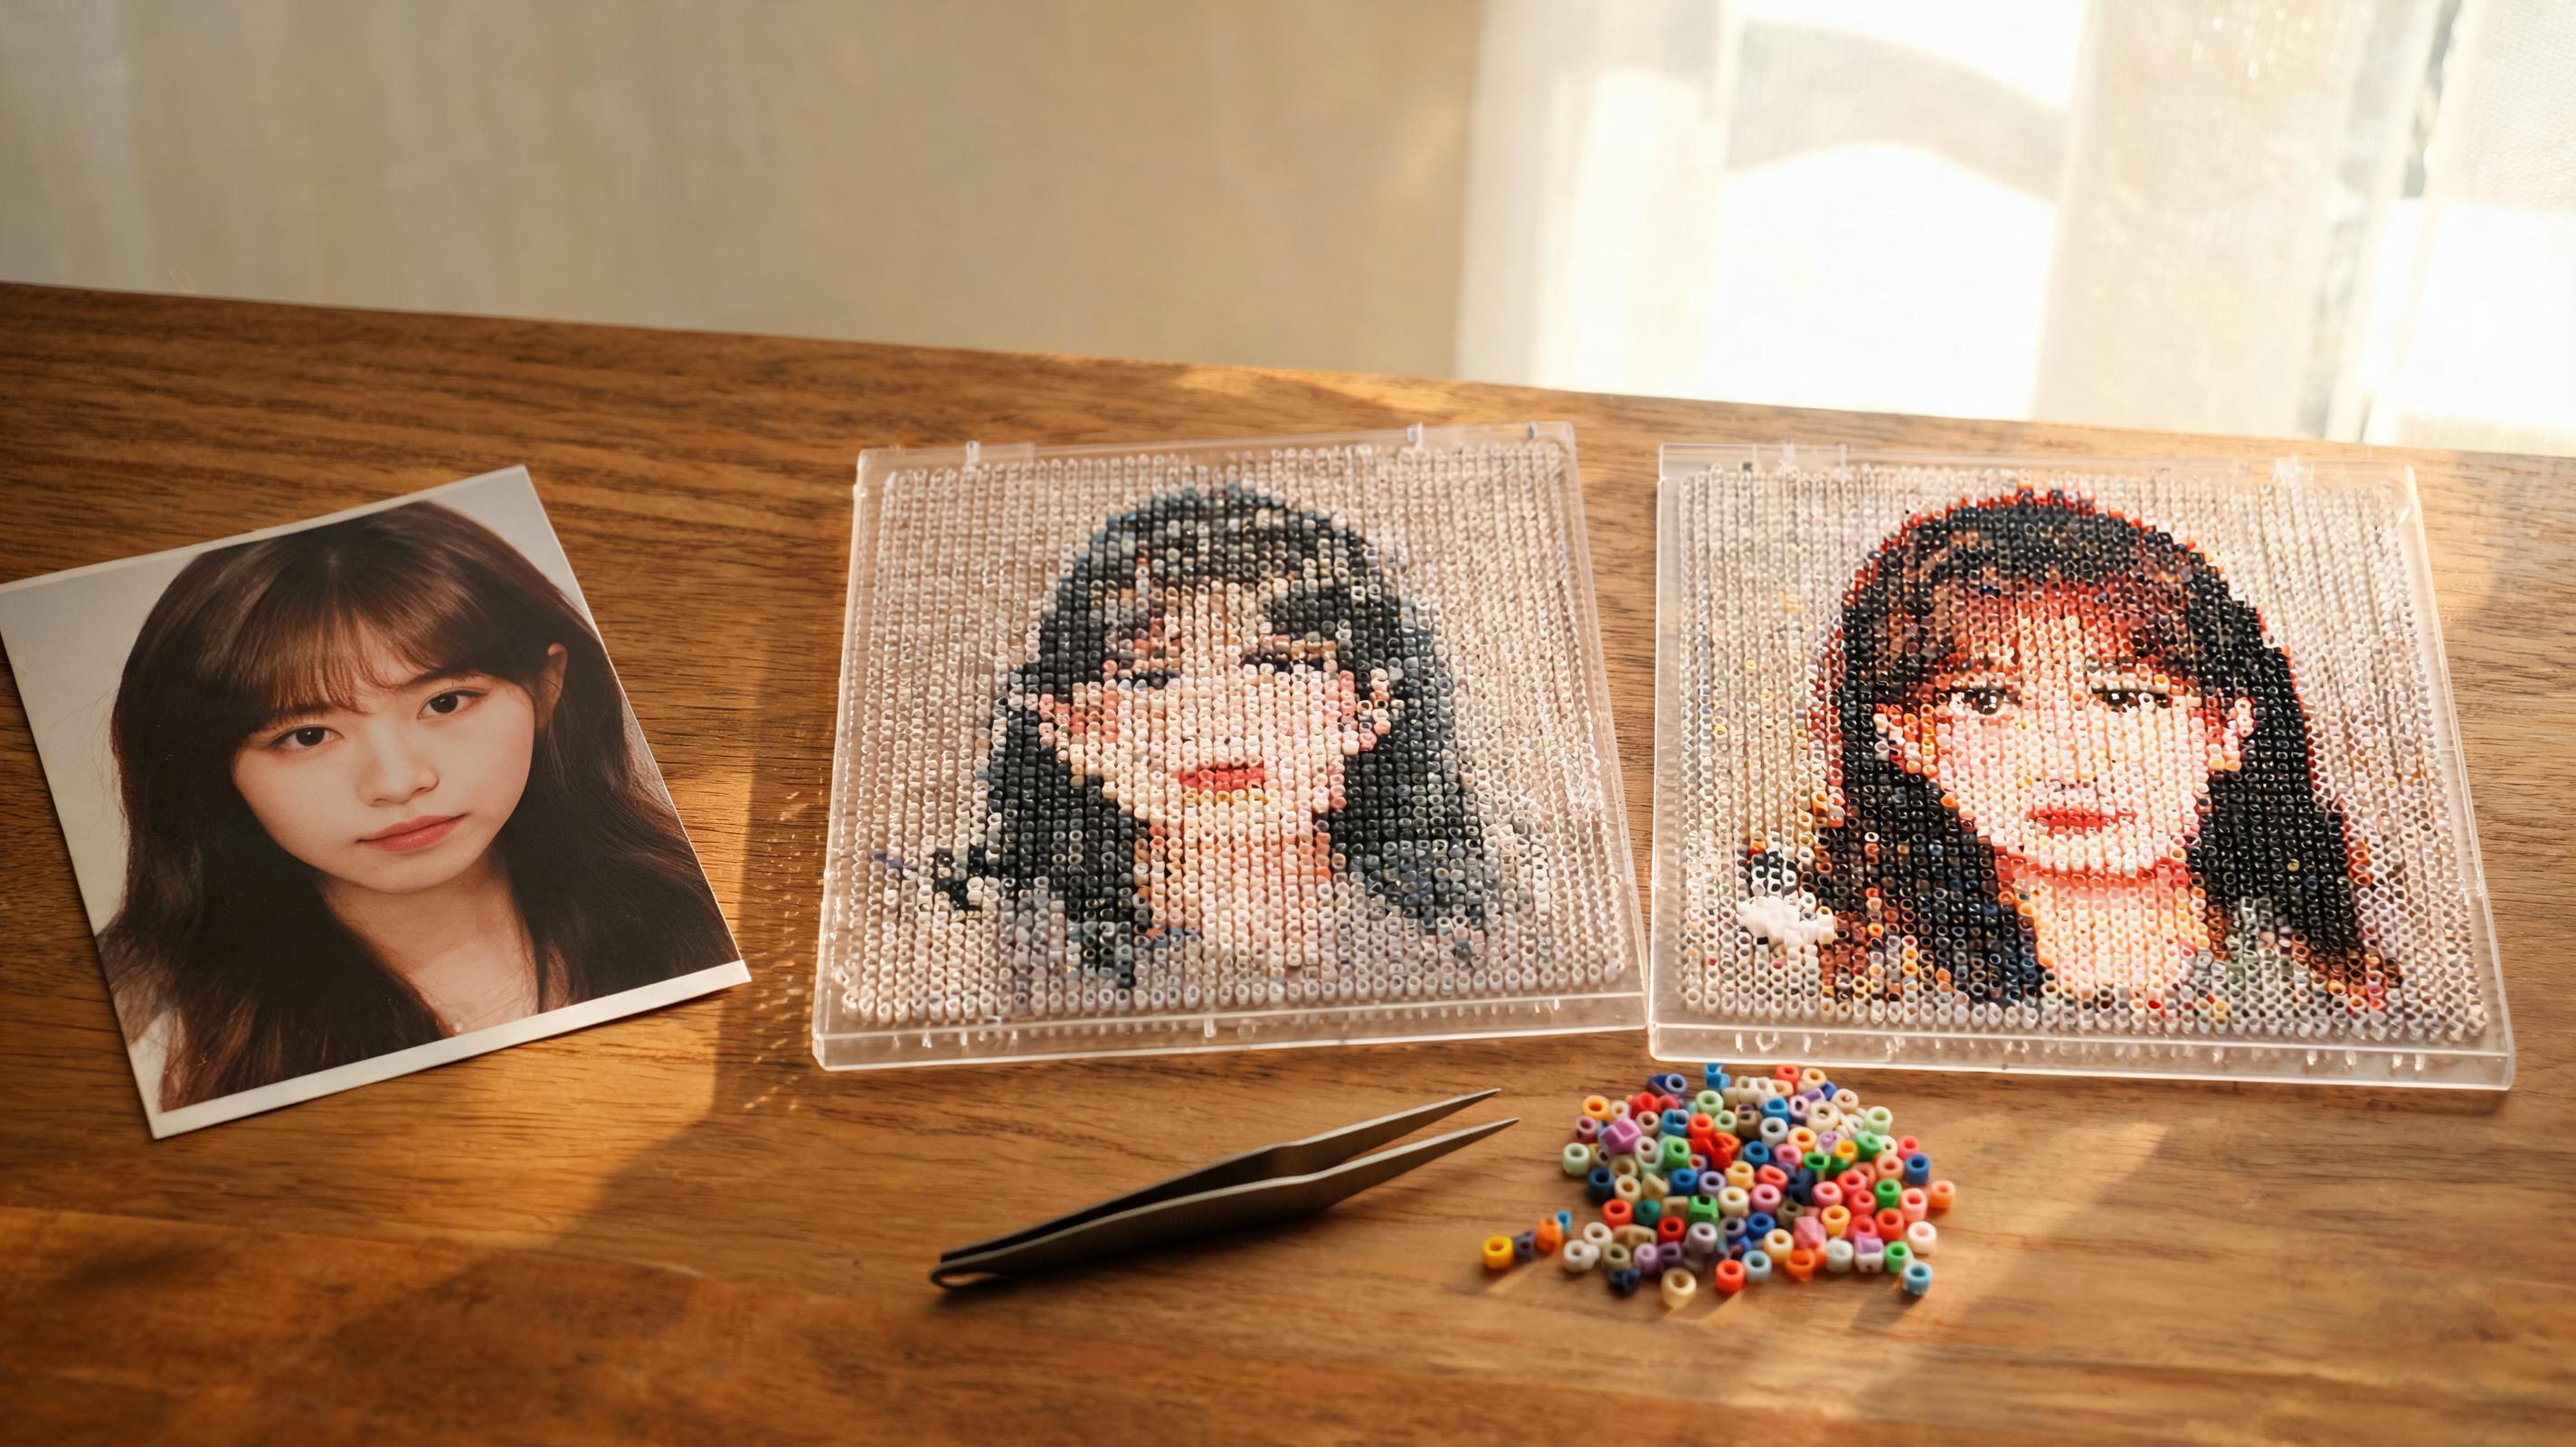
What It Changes
Image adjustments in the converter edit the source photo before colors are sampled into bead IDs. Open Image adjustments on the left panel. Exposure (stored as brightness) shifts overall lightness. Contrast separates lights and darks. Saturation pushes colors toward vivid or muted.
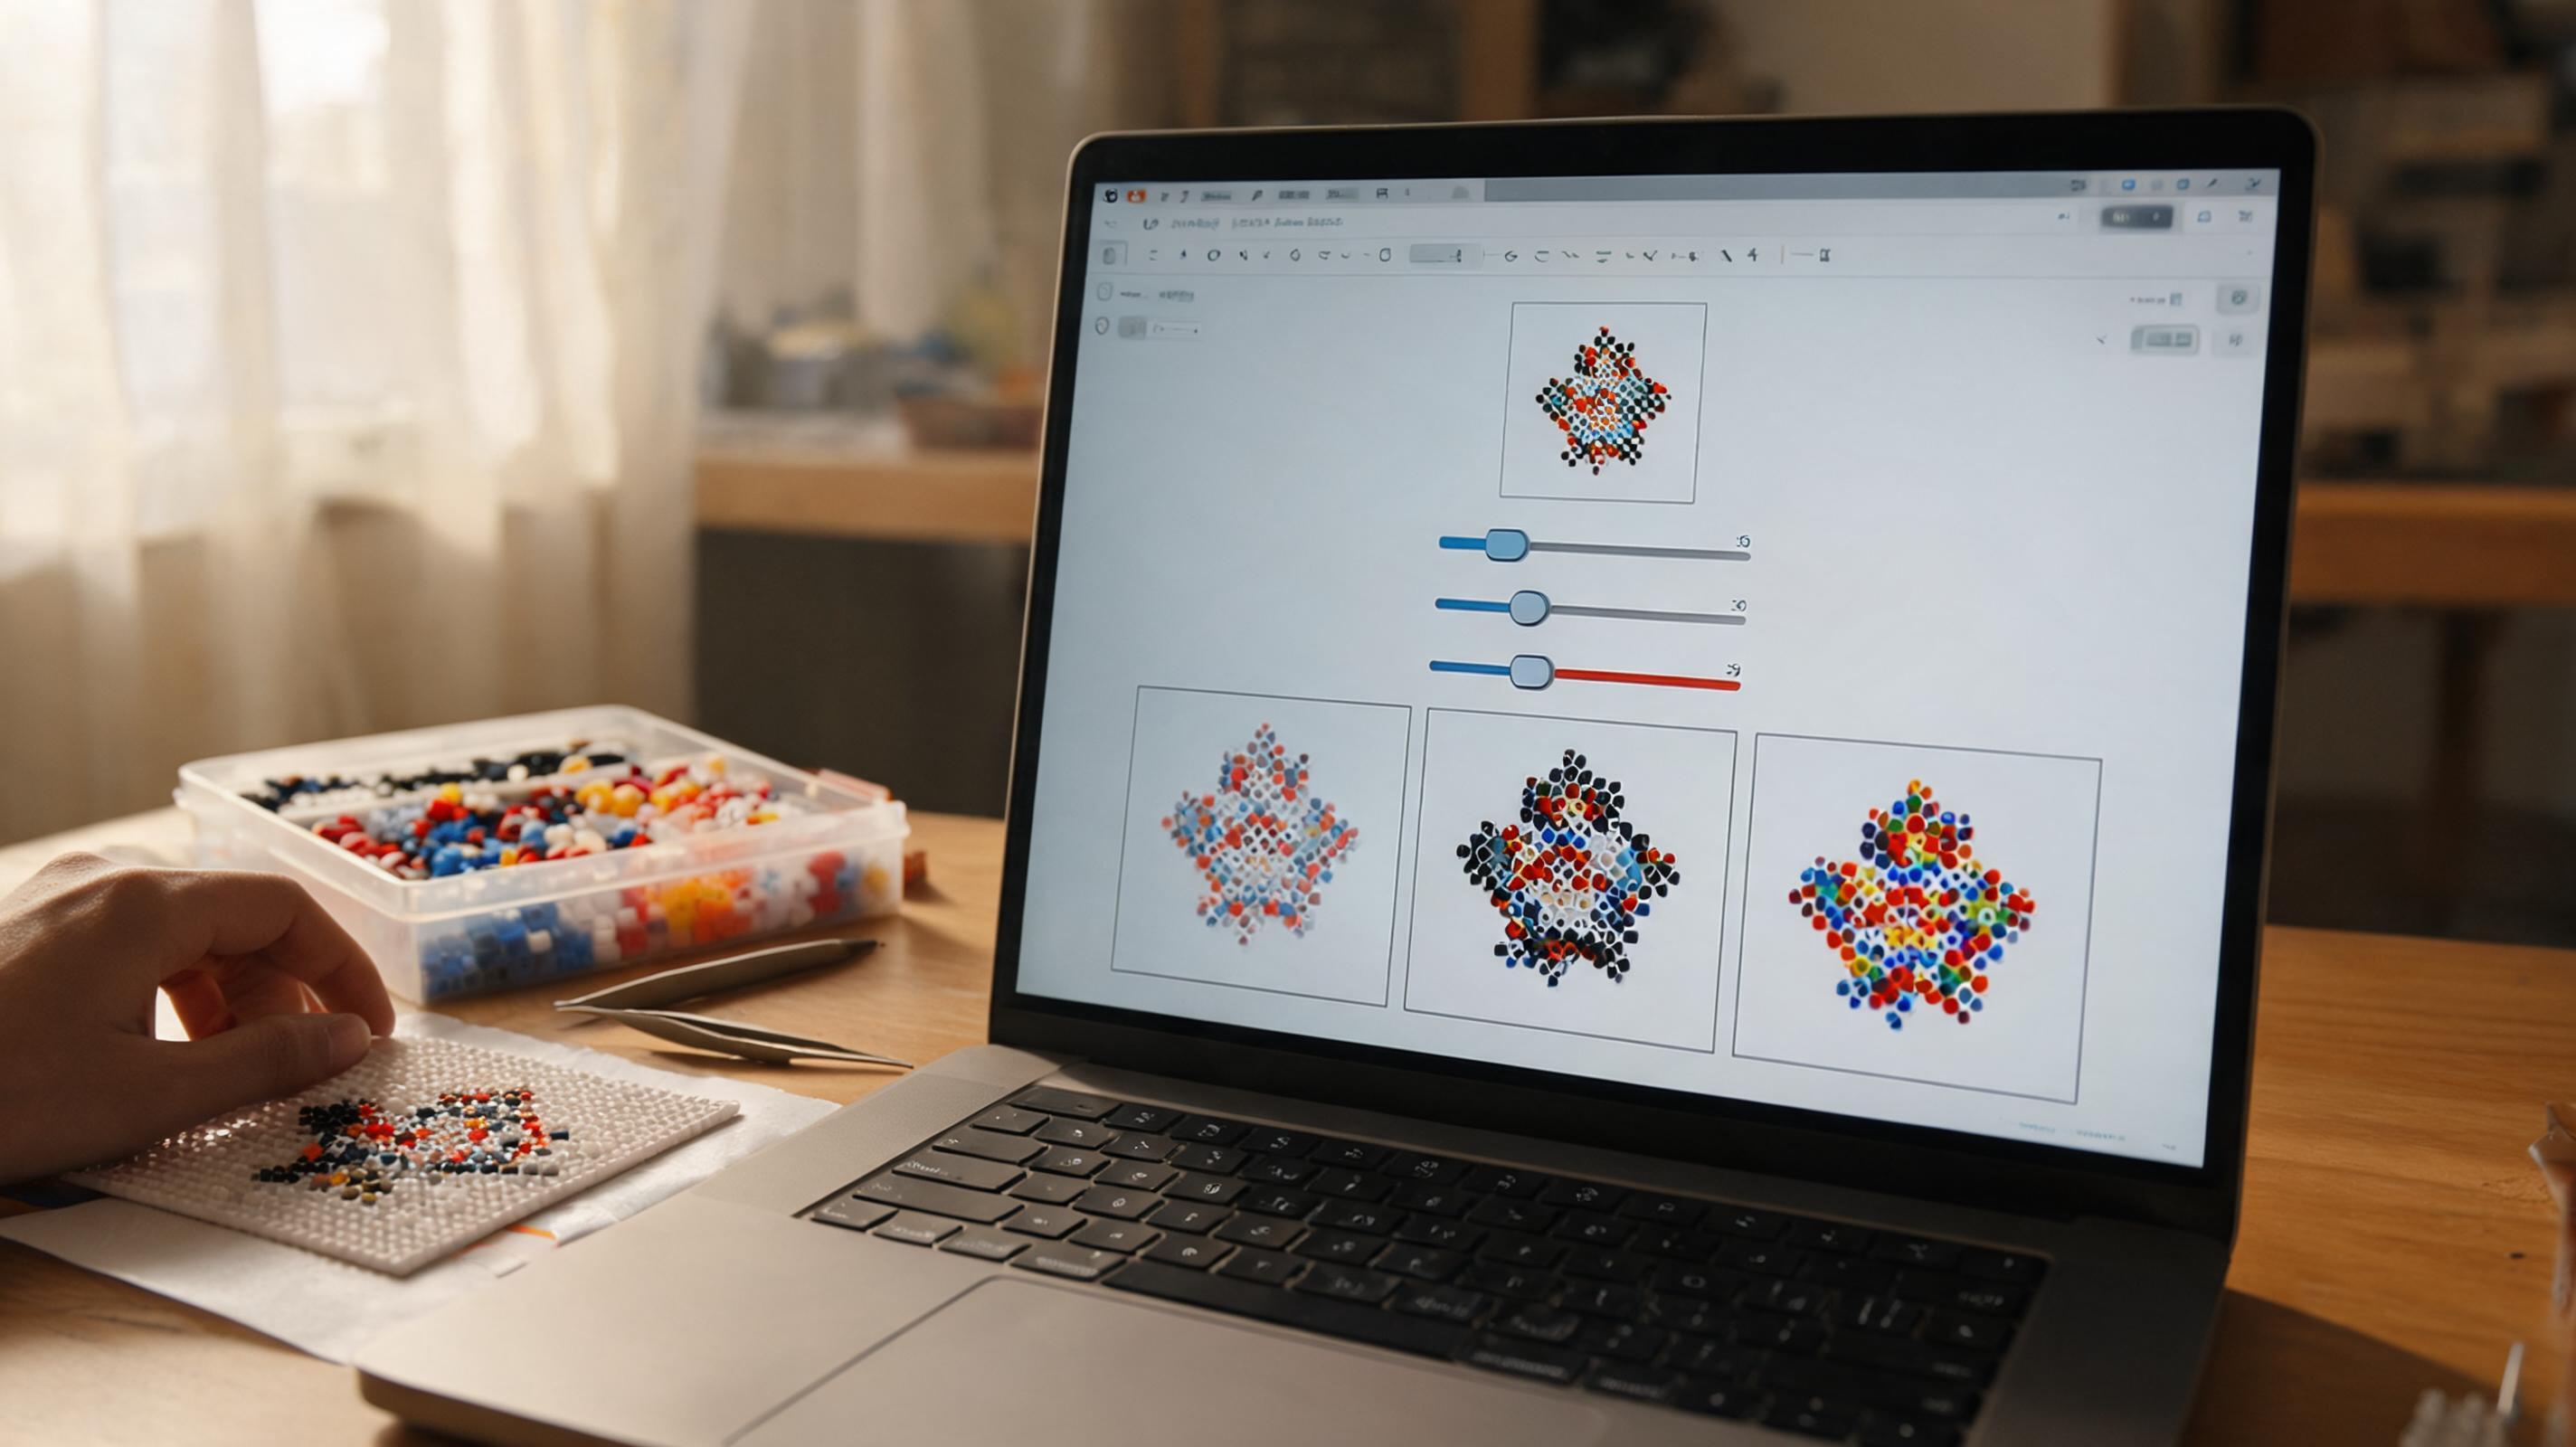
- Exposure · −100 to +100, default 0. Raises or lowers mid-tones across the whole image.
- Contrast · 50% to 150%, default 100%. Widens or narrows the gap between shadows and highlights.
- Saturation · 0% to 200%, default 100%. Controls how strongly hues differ before palette matching.
When to Use It
Raise Exposure when the preview looks dim and shadow areas collapse into the same dark bead. Lower Exposure when highlights wash out and skin or sky merges into one pale color.
- Increase Contrast when subject and background bead to similar grays — it helps edges survive conversion.
- Lower Contrast on high-key photos that already have harsh whites.
- Boost Saturation when the matched pattern looks muddy; reduce it on neon or oversaturated phone HDR shots.
What Can Go Wrong
Over-exposure merges light areas — cheeks, clouds, and white shirts become one cream bead with no shading. Under-exposure turns shadow detail into solid dark blocks that are hard to place correctly on the board.
- Too much Contrast clips highlights into single light beads and loses hair strands.
- High Saturation can force rare bead IDs for tiny specks that are not visible at arm's length.
- Adjustments do not replace a better photo — a blurry upload stays blurry.
Recommended Starting Point
Start with Exposure moves of ±5 to ±15. Watch the face or main subject between each small change. Reset (in Image adjustments) returns all three sliders to default if you lose track.
What to Check in the Preview
Toggle Overlay mode and compare source to beads. Inspect eyes, teeth, sky edges, and text. After each tweak, read the color count — a sudden jump often means you pushed a slider too far.
- Highlight areas — do they still show two or more light bead shades?
- Shadow areas — can you distinguish hair from background?
- Relationship to Detail level — if colors still explode, lower max colors before adding more saturation.